The Important Bits
- Custodial vs. Self-Custody Wallets: Custodial wallets (like on exchanges) keep your private keys for you. Self-custody wallets let you control your own private keys, which means you have full control of your crypto.
- Types of Self-Custody Wallets: These wallets can be hardware (more secure, offline) or software (easy to use, but less secure). Cold wallets store private keys offline, while hot wallets keep them online.
- Why Move Crypto from Exchanges: A self-custody wallet gives you full control and better security if you take the right steps.
- Transfer Process & Best Practices: Pick the right wallet, write down your recovery phrase safely, and always double-check addresses before sending. Start with small test transfers to avoid mistakes.
Wallets vs Exchanges
There are many ways to store crypto, but the biggest difference is between custodial wallets and self-custody wallets.
- Custodial Wallets: When you keep your crypto on an exchange, they control the private keys. This means you don’t have full control of your funds.
- Self-Custody Wallets: These let you hold your private keys yourself, so you are fully in charge of your crypto.
Crypto users often say: “Not your keys, not your crypto.”
This means if you don’t hold your private keys, your crypto isn’t really yours. It’s like money in a bank—you can use it, but the bank controls it.
What is a Self-Custody Wallet?
A self-custody wallet (or non-custodial wallet) gives you control of your private keys. These wallets come in different forms:
Hardware wallets vs Software wallets
- Hardware Wallets: Work on a separate device, not on your computer or phone. They keep private keys offline, making them very secure.
- Software Wallets: Exist as apps on your phone or computer. They are easier to use but less safe than hardware wallets.
Cold wallets vs Hot wallets
- Hot Wallets: Stay online for quick access. Best for small amounts of crypto you use often.
- Cold Wallets: Stay offline for long-term storage. Safer than hot wallets because hackers cannot reach them.
Examples:
- BitPay Wallet: A hot software wallet for sending crypto and using Web3 apps.
- Ledger Wallets: A cold hardware wallet for storing Bitcoin and other coins offline.
Why Move Your Assets from a Centralized Exchange?
Keeping crypto on an exchange comes with risks:
- You don’t have full control of your funds
- Geographical restrictions may apply
- Exchanges can be hacked or mismanaged
- Exchanges may set withdrawal limits
- Exchanges may crash during high trading times
Even trusted exchanges face these issues. Using a self-custody wallet reduces these risks. You control your private keys and can transact anytime, anywhere.
The only way someone could steal from a self-custody wallet is by getting your seed phrase or your device + password.
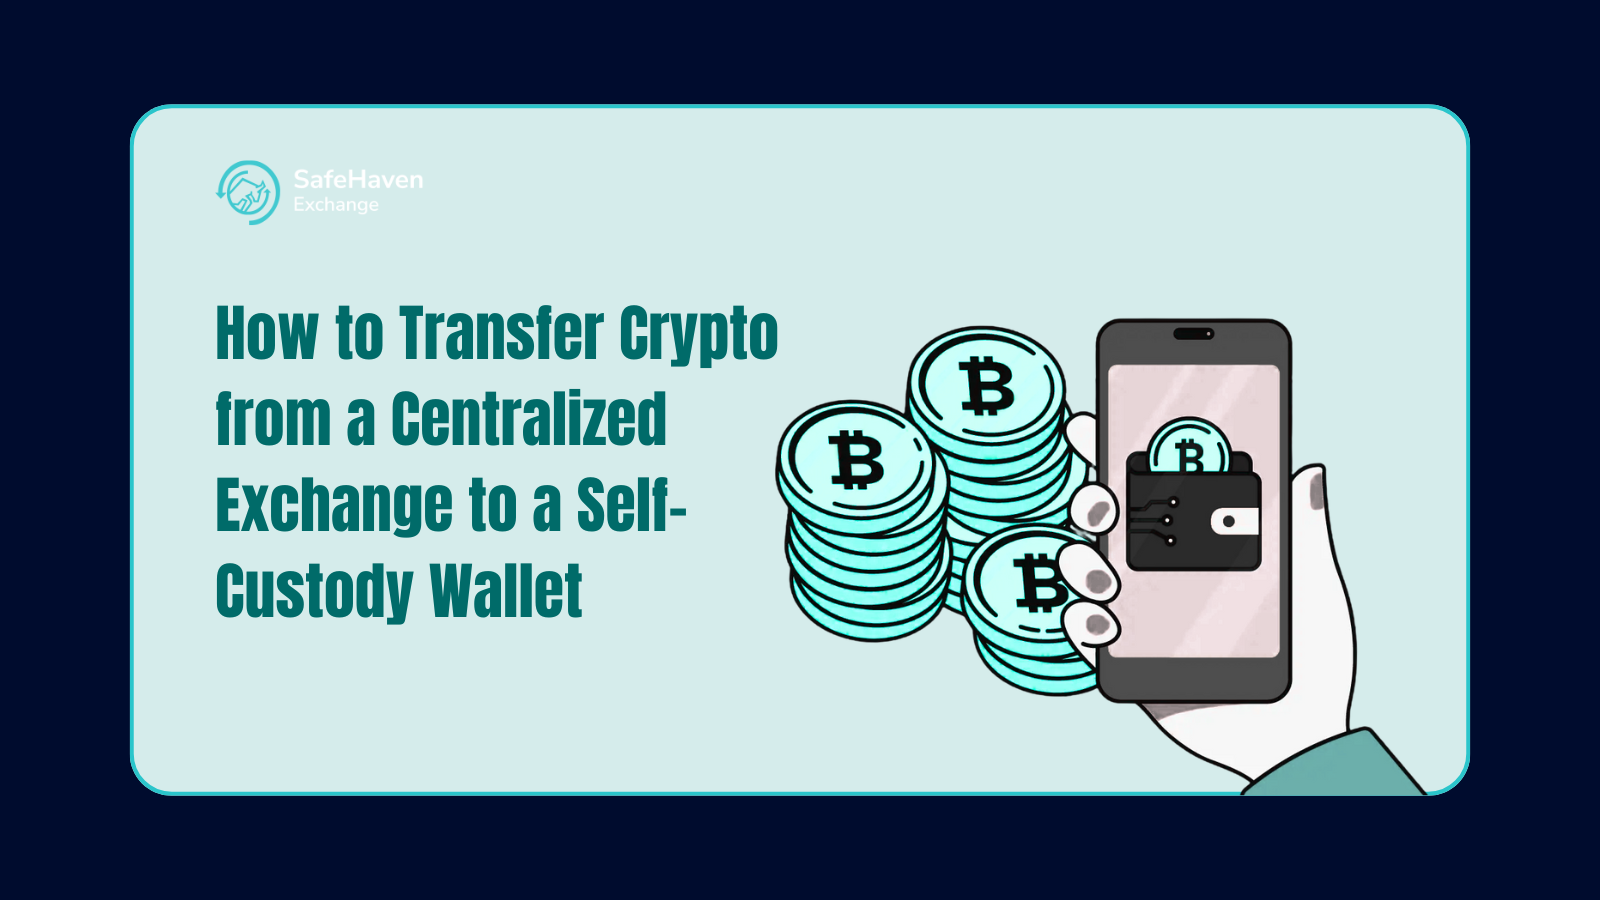
Step-by-Step Guide to Transferring Crypto From an Exchange to a Self-Custody Wallet
Step 1: Choose the Right Self-Custody Wallet
Pick a wallet based on your needs:
- Hardware wallets for large, long-term holdings
- Software wallets for frequent transactions
Many people use both: hardware wallets for savings and software wallets for daily use.
Always buy hardware wallets directly from the official manufacturer—third-party sellers may tamper with them.
Example: The BitPay Wallet lets you store, buy, sell, swap, and spend crypto easily.
Step 2: Set Up Your Self-Custody Wallet
When setting up your wallet, you’ll get a recovery phrase (12–24 words). This is your wallet’s master key.
- Write it down on paper and keep it safe offline.
- Never share it or store it digitally.
- Test your recovery phrase by practicing recovery.
Do a small test transaction to make sure your wallet works before sending large amounts.
Step 3: Send Your Assets from the Exchange to Your Wallet
Now, move your crypto:
- Get your wallet’s public address (a long string of letters and numbers).
- On your exchange (like Coinbase or Kraken), log in and choose Withdraw/Send.
- Paste your wallet’s address carefully and choose the amount.
- Double-check the address and network before sending.
⚠️ Important:
- Bitcoin (BTC) must go to a Bitcoin address.
- Ethereum (ETH) and ERC-20 tokens must go to an Ethereum address.
- Sending to the wrong address means your crypto is lost forever.
Step 4: Verify the Transaction
After sending, check your wallet to see if the crypto arrived. It may take a few minutes to an hour.
If it doesn’t show up, use a blockchain explorer (like Etherscan for Ethereum) to track the transaction.
If it’s stuck, contact your exchange’s support.
Best Practices for Secure Transfers
Self-custody means more responsibility. Follow these tips to avoid losing your funds:
- Send a test transaction first. Always send a small amount before transferring a large sum.
- Secure your seed phrase. Write it down on paper or use a metal vault to keep it safe from fire/water damage.
- Avoid common mistakes. Always double-check the wallet address and make sure you’re sending the right token on the right network.
Final Thoughts
Moving your crypto from an exchange to a self-custody wallet is one of the best ways to protect it. You gain full control and reduce risks of exchange hacks, withdrawal limits, or shutdowns.
By choosing the right wallet, protecting your recovery phrase, and carefully verifying your transfers, you can safely manage your crypto.
It requires more responsibility, but the peace of mind and security make self-custody the best choice for serious crypto holders.